Cracking Cress Heads Gromit!
Why not get your mini gardeners to grow some cress and create these really fun cress egg heads. Not only is it great that you can personalise the faces and have a go at sowing some seeds, after about ten days the cress should be ready to eat! You can grow cress all year round and it only requires a small area of a windowsill.
All you will need:

- Eggs (quantity depending on how many cress egg heads you want to make)
- Knife (adult help may be a good idea)
- Kitchen roll
- Cotton wool or cotton wool balls
- Cress seed
- Felt-tip pens and any other decorations you fancy to personalise the faces, such as goggley eyes or mini pom poms.
Step 1
Crack eggs into a bowl, trying just to remove the top 3rd and save the contents for later. To save wasting the eggs, you might like to make scrambled eggs or have a go at baking. Wash out the shells and dry on a piece of kitchen roll.
Step 2
When dry you can decorate your shells, giving them faces. Stand them in an egg cup or an egg box to dry.
Step 3
Dampen a piece of cotton wool or a cotton wool ball, and then gently squeeze out before placing it carefully inside your eggshell. Sometimes you might need to add a little extra cotton wool if you have larger eggs.
Step 4
Sprinkle the cress seeds on top of the cotton wool, just pressing down lightly to make sure the seeds are in contact with the cotton wool.
Step 5
Place your cress egg heads in a warm, light place like a windowsill.
Step 6
Check each day and add a sprinkle of water to prevent the cotton wool drying out. Try not to make the cotton wool too wet though, as the cress seed only needs a little moisture to grow. Wait for them to start growing, they should germinate in a few days when you will begin to see them starting to sprout!
Step 7
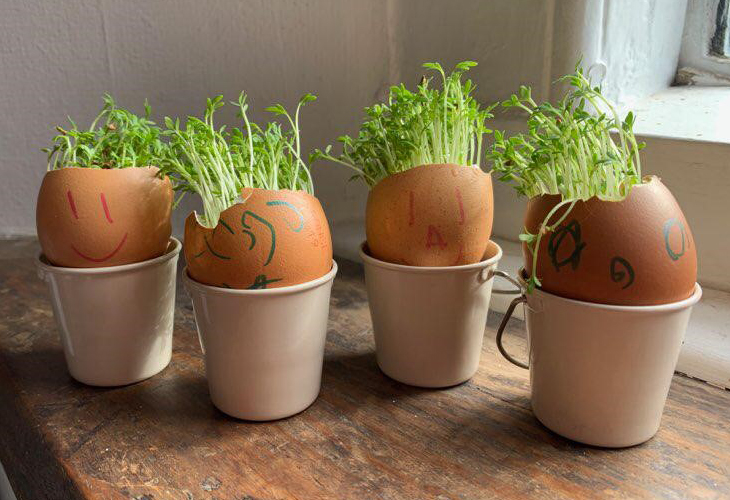
After about 7-10 days the cress egg heads should have sprouted some rather cool hair! The cress will now also be ready to harvest and is delicious in an egg sandwich!